When I was getting ready to pass my interview and demo class, I watched as many YouTube videos as I could.
All those videos revolved around the same theme. “How to pass the demo and get the job.” Another common theme among the videos was using props in the ESL classroom.
All the videos recommended having plenty of props and using them as much as possible during the demo.
In addition, before I even watched any videos, my recruiter highly encouraged me to get props for my classroom.
They said it would increase my chances of getting hired and achieving a higher base pay.
About the Author: Manuela Stef currently teaches English online. She is a graduate of OnTESOL’s 250-hour TESOL Diploma, Teaching IELTS, Teaching English to Young Learners, and Teaching Business English.
Do Not Overload on Props
I listened to what my recruiter told me and to what I heard in the videos, and I collected five small storing baskets worth of props, flashcards, and so on, in less than a month.
In the beginning, I used the props in most of my classes and found myself reaching for my props quite a bit.
That being said, reaching for props during a trial class and putting them back in an organized way became a hassle after two or three classes in a row.
Usually, props would end up strewn all over the place, and by the time I got to my third or fourth class that morning, I had forgotten that I even owned props!
Backdrop: Less Is More
Let’s start with something that is not necessarily a prop but rather a necessity for all ESL teachers, “the backdrop”.
When I was looking for inspiration, I had stumbled across very elaborately colorful and appealing backdrops, and I decided to recreate a similar one in my classroom.
I printed as many posters as I could find in addition to several world maps, and stuffed animals.
Once all the pictures were printed and cut out, I began sticking them to my wall with reusable adhesive putty.
By the time I was done decorating, my wall was fully covered, but there was an issue, it looked awkward on camera.
For one, it did not look like a backdrop, but like pure clutter. The reason behind this was that I was working in a small space.
Then, it just looked awkward on camera because you could see where the pictures got cut out of the frame. It was not pleasing to the eye.
I got rid of the clutter I had created and decided to DIY my backdrop in a way that would make it look bigger.
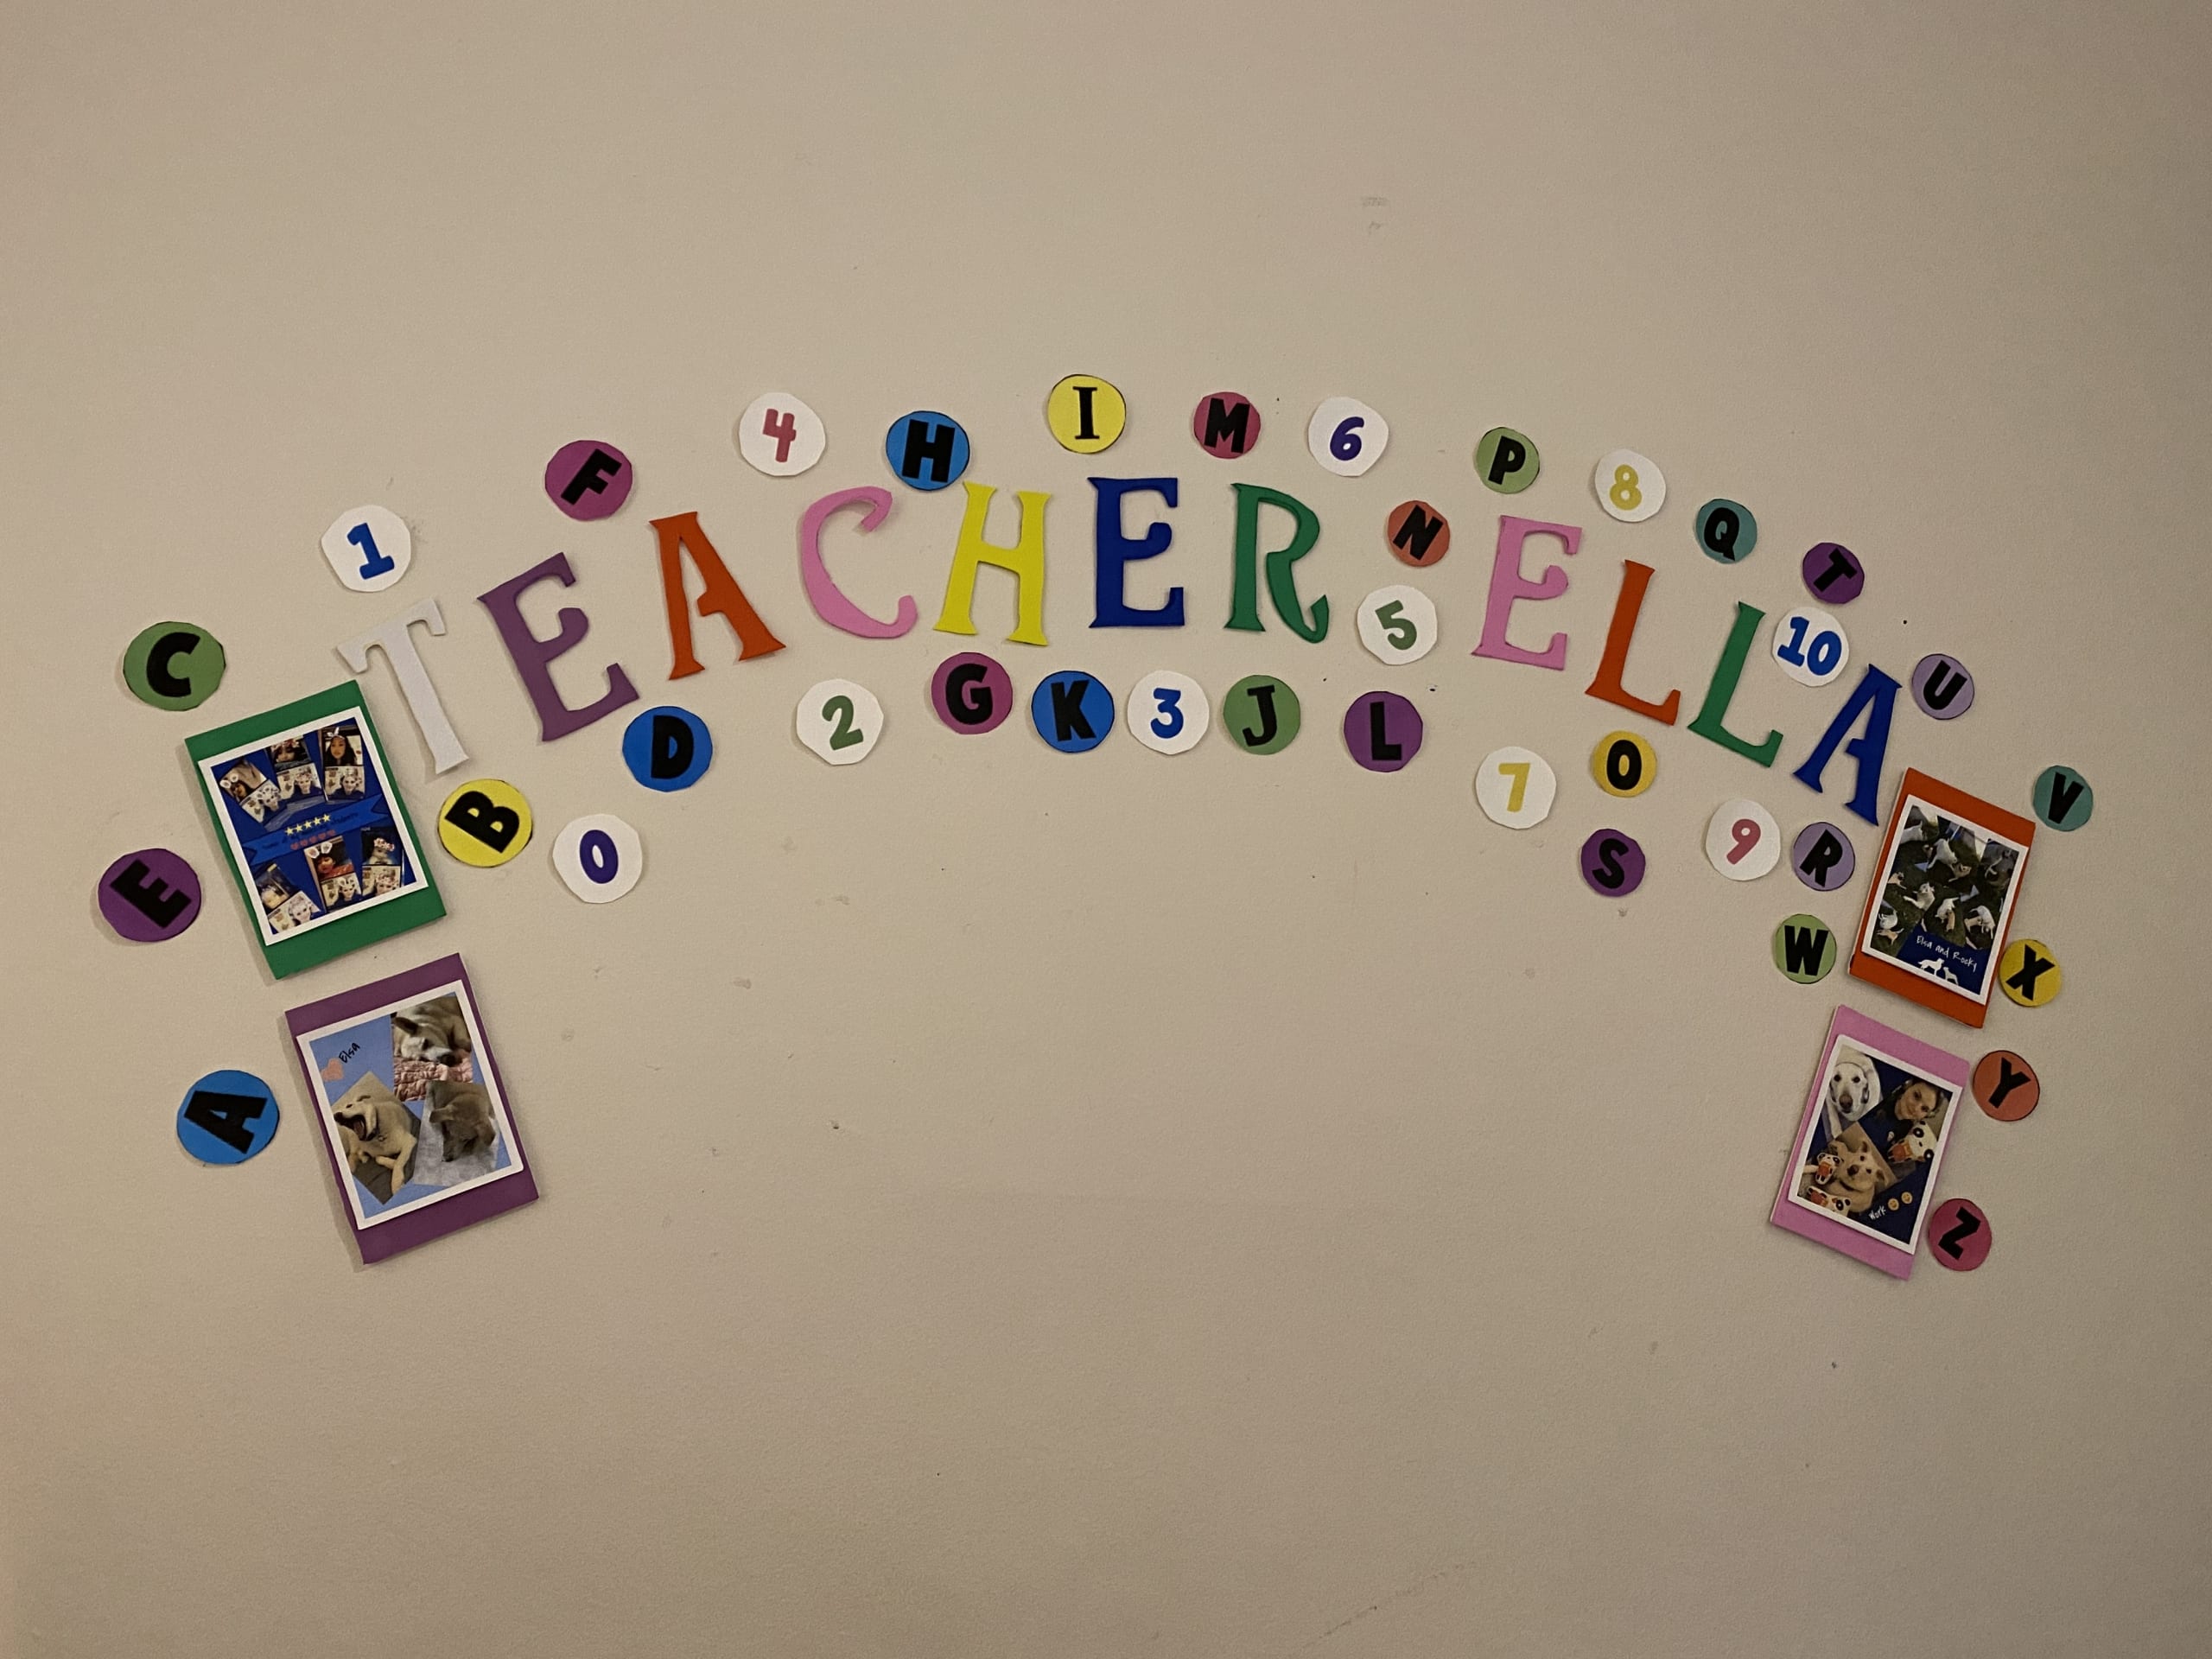
I began by brainstorming a few simple ideas and made a list of the materials I’d need. My name is difficult for my students to say, so the focal point of the backdrop was “Teacher Ella.” Ella is one of my many nicknames and it is easy for kids to say.
The intention was to have the backdrop form an arch on my wall. I used colored foam paper and stencils to cut out the letters.
I then selected a few pictures, I added more color to everything by cutting out colorful letters and numbers.
Engaging Young ESL Learners In The Online Classroom
Props: The Simpler, The Better
It is true that having toys and showing them to the camera grabs students’ attention. However, I find it to be a double-edged sword.
You are either going to succeed in getting students to focus, or you are going to distract them even more.
More often than not, when a student sees that you have, for instance, a unicorn stuffed animal, they will typically run off-camera to get their toy and show you.
This makes class difficult because they no longer focus.
Keep props to a bare minimum. Keep a puppet or two and a stuffed animal on hand and use flashcards and printouts.
Flashcards are a must for trials because we typically need to assess whether or not students know the alphabet and the numbers, and I have been using the same sets of flashcards since day one.
They were among the most inexpensive sets on Amazon and they held up well. If you wanted to, you could DIY your flashcards by simply printing out the letters, or numbers, cutting them to the size of your liking and laminating each card.
Our 140-hour TESOL course with TEYL specialization is a great option for teaching English online!
Food Props
Last but not least, let’s talk about food props. Food props are perhaps my most used props because the trial classes use a food-centered courseware 95% of the time.
Again, if you want to buy actual food toys, browse Amazon because the sets are quite big for the price you pay.
Nevertheless, I prefer to DIY it because it takes up less storage space. For this, I select the images I want to print out, cut them, and finish by laminating each image.
It makes staying organized much easier and there is no danger of the prop rolling off my desk when I teach.
The Bottom Line
Some teachers have a preference for having an elaborate backdrop and using a variety of props, however, it isn’t necessary.
Keep your backdrop simple. In addition, keep props to a minimum (a puppet or two, flashcards and a few food props).
Moreover, I suggest DIY most of your props because they take up less space and they end up costing less.
Be Prepared for the Online Classroom with our 20-hour Teaching English Online Course!


